STARLIGHT Model Rocket Flight Computer vs Rockit flight computer

While you expect to see reviews of model rocketry accessories on web sites such as this one, it is a nice surprise when you see model rocketry get some love from web sites and sources not typically associated with rocketry. This recently occurred when the HackSpace magazine web site posted a comparison article on the StarLight flight computer versus the Rockit  flight computer (https://hackspace.raspberrypi.com/articles/starlight-model-rocket-flight-computer-vs-rockit-flight-computer).

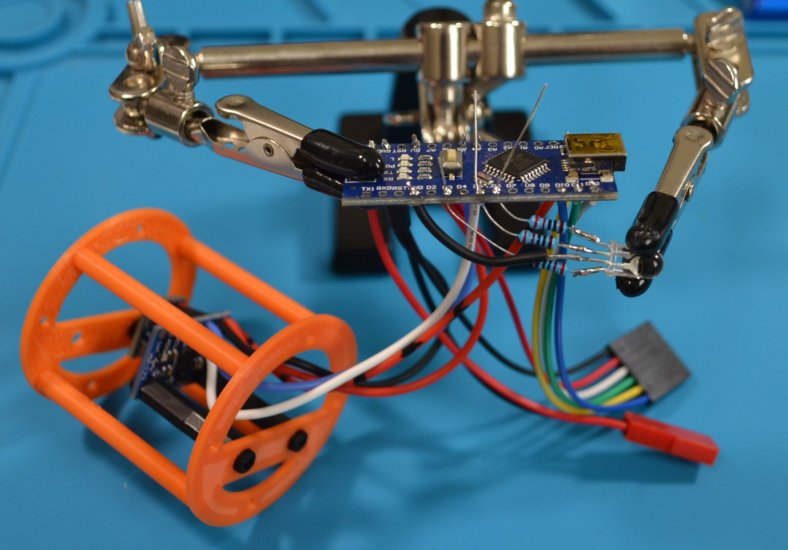
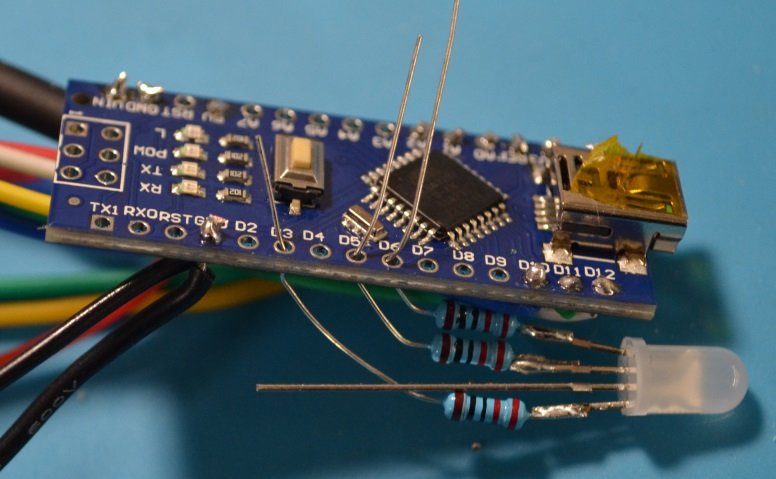
Both systems use the RP2040 microcontroller and both include built in sensors and additional GPIO pins for your own use. They were impressed with both boards as they rated each 10/10.

If you go and download the HackSpace magazine  you will find that there is 5-page spread dedicated to model rocketry electronics in that issue. It includes a review of an electronic nichrome cutter, a triple axis accelerometer and a Cansat Kit.  (https://hackspace.raspberrypi.com/issues/74/pdf/download)

If you go back through their past years (available at https://hackspace.raspberrypi.com/issues) you will find that they cover model rocketry projects at times. Issue 12 had rocketry as their feature cover topic, and issue 63 focused on flight on included several articles on rocketry.

It is nice to see model rocketry show up in some unexpected places. When it happens, we like to promote it to help promote and expand the reach of the hobby!

NASA Avionics

With the completion of the Olympus Project, this marked our second project using the Arduino Nano as the primary avionics module. Project: Icarus was the first rocket to use this system. Both projects made use of our A-PAM (Arduino Primary Avionics Module) as the foundation of the for the electronic payload.

Another commonality between the two projects is that the code is written in modules, with each function then called when it is needed. Again, the code modules in the A-PAM provided the foundation for the electronics.

Using common modules to build your programs is smart in a number of ways. It reduces the amount of code you need to write. The modular design allows other projects to make use of previously written code in new projects.

This is also the way NASA does their coding for their spacecraft. It is called the Core Flight System (cFS) and provides a modular framework that makes use of previous code. This prevents NASA engineers from re-inventing the wheel for each new spacecraft. Here is NASA’s description of the cFS;

The core Flight System (cFS) is a platform and project independent reusable software framework and set of reusable software applications. There are three key aspects to the cFS architecture: a dynamic run-time environment, layered software, and a component based design. It is the combination of these key aspects that makes it suitable for reuse on any number of NASA flight projects and/or embedded software systems at a significant cost savings.

In addition to creating the framework, they have followed the opensource model and released the software under the Apache license. We have done the same thing, releasing our A-PAM software under the General Public License (GPL).

For a nice overview of the system, you can read the article posted to Hackaday (https://hackaday.com/2023/11/30/open-source-spacecraft-avionics-with-nasas-core-flight-system). The NASA web page for cFS can be found at https://cfs.gsfc.nasa.gov. Finally, the code is posted at GitHub and can be downloaded from https://github.com/nasa/osal.

The Olympus Project: Part 34 “Final Assembly”

With everything soldered in place, it is time to start the final assembly of the avionics bay.

The Battery

The first component to be installed is the battery. The battery has two sets of wires coming from it. The charging cable has a 3-pin connector and is attached to the shorter wire set, while the power cable has a 2-pin connector but contains the longer set of wires.

When inserting the battery, both connectors will not fit through the opening at the same time. Begin by inserting the charging cable and make sure it is completely through the opening.

Next insert the power cable through the opening. Once both cables and connectors are through the opening, push the battery forward into the avionics bay.

Nano & microSD Card Module Placement

The final assembly process begins by connecting the microSD card module to the Nano. With the two connected, begin to insert the entire assembly into the A-PAM housing. In the picture below you can see where the microSD module has been slid forward, with the Nano about halfway into the A-PAM housing. The sensor housing is to the rear as the cable lengths allow it to move out of the way while working on the A-PAM components. You can also see the battery cables are extended fully through the front of the housing.

Continue to move the Nano and the microSD card module forward until the USB connection of the Nano is completely within the opening. The front of the microSD board should be flush against the inside of the forward bulkhead. The LED status lamp should slid into position along with the Nano. When moving this assembly take your time, making sure the LED lamp and the Nano both move forward at the same time.

Attaching the Sensor Housing

With all of the components secured in the A-PAM housing, it is time to attach the sensor package. The picture below shows the two components being lined up. You will need to work the wires into the sensor housing as you bring the two housing together. Once lined up insert two screws to secure the two housing together.

Attach the Payload Adapter

The final part that needs to be attached is the Payload Adapter. There are two screws that attach it to sensor housing. Make sure that these screws are secure, as this is what attaches the entire payload assembly to the recovery system. The picture to the right shows the completed assembly.

This completes the assembly of the avionics package for the Olympus Project.

The Olympus Project: Part 33 “More Electronics Installation”

Installing the LED Status Lamp

The last component to install is the LED status lamp. Fortunately, all of the pins used for the lamp are on the same side of the Nano board and pretty close together. Unfortunately the lamp is located on the side between the two plastic mounting rails for the Nano and the microSD card. This does not leave much working room.

I knew early on that we wouldn’t be using any extra wire for these connections. Except for the wire that connects to the common ground, this is true. The first thing we did was solder the 220Ω resistors to each of the red, blue and green pins on the LED. I cut the pins on the LED short, as I knew there was a limited amount of space to work with. I also want the wires from the resistors to fold back to reach the connections on the Nano. The picture on the right shows this part of the assembly. The resistors are soldered in place and the wires are bent into the approximate position on the Nano. The ground wire has not been soldered into place at this point.

When the Nano board is inserted into the avionics bay, the board comes all the way to the forward bulkhead. I knew that the lip around the LED lamp would end at the bulkhead as well. Line up the LED lip with the end of the Nano board and then routed the resistor wires to the appropriate connections on the Nano. However, at this stage I was not ready to solder these wires in place. I needed to make sure the assembly would fit inside the avionics bay.

Carefully insert the Nano and LED assembly into the avionics bay. With both pieces in their proper position, the resistor wires were bent over to hold them in place. Both pieces were carefully removed and the wires soldered in place.

In the picture on the right you can see the other connections are already in place. With the clamps holding everything in place we can solder the status lamp to the Nano and then trim off the excess wire.

Before you move on to the final assembly, check your system to make sure everything is working as expected. It is important to test your components and assemblies as you go along. It makes it much easier to detect and troubleshoot issues when they occur.

The Olympus Project: Part 31 “Beginning the Electronics Installation Process”

With the avionics and sensor housings printed, it is time to wire the components together. This takes some planning and patience as you are working in tight quarters. However, it is possible to get everything installed with room to spare.

The graphic on the right shows the connections needed for the avionics package. The LED lamp requires four connections, while the microSD card module requires six (including a common ground with the LED and card module). The two sensors both require I2C connections and the BMP180 needs a 3.3 volt power supply. To complete the wiring is the VIN and ground connection coming from the battery to the Nano.

I was able to determine pretty quickly that soldering the wires to the top of the Nano was going to cause issues. Instead, the wires come up from the bottom and are soldered into place.

The next item that became readily apparent is that the components would need to be soldered in place first and then installed in the avionics bay. Trying to solder next to the plastic avionics bay was not going to end well.

Wiring the Components

There is no single method to installing the connections on the avionics package. You can do it in any order you think will work best for you. The order that I present here is just one method, but not the only method.

Installing the MicroSD Card Module

I gave considerable thought on how to attach the microSD card module to the Nano. The connections on the Nano are along the sides of the board, while the card module has pin connections that are at the rear of the board. While I did give some thought to removing the pins and soldering the wires directly to the board, in the end I decided to make use of the pins. The use of the pins actually seems to make the assembly easier.

In the picture on the right you can see five of the six microSD card module wires routed to the rear of the Nano (the others wires seen include the I2C connections, power and ground wires and the 3.3 volt connection for the BMP180).

Note: To help identify the 3.3 volt power line, it was marked with black stripes using a permanent marker.

The microSD card connection wires use a single six slot DuPont connector at the end. The wires are long enough to curl around and reach the pins of the card module.

The picture on the left shows the card module wires inserted into a six slot DuPont connector. The other end of the wires are soldered to the underside of the Nano and exit to the rear.

Before you install the Nano board into the avionics housing, you need to complete all of the soldering connections.